Introduction
For cat owners, the Litter Robot offers an automated self-cleaning ability that streamlines pet care. Like any electrical gadget, it can, however, develop problems over time. A failing laser board sensor is one of the most often occurring issues since it is very important for waste level detection and correct cycling. This instruction will enable you to effectively diagnose and fix the laser board sensor if your Litter Robot is showing sensor faults or not cycling as it should.
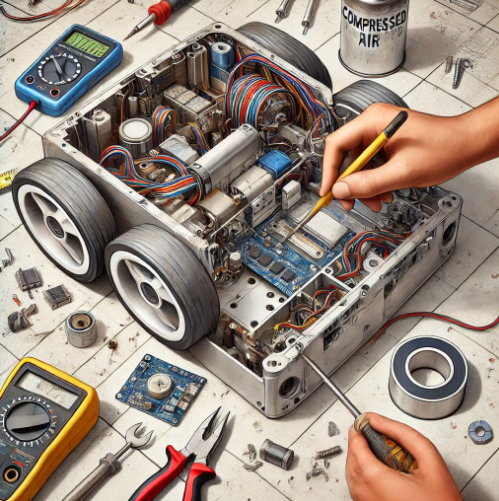
Learning about Litter Robot’s Laser Board Sensor
The Laser Board Sensor is:
The Litter Robot’s laser board sensor finds the garbage level within the unit. It guarantees the system runs without problems by, when needed, starting cleaning cycles. Should the sensor fail, the unit might not run as intended, causing:
- Continuous cycling problems
- Not spotting waste levels
- Control panel error indication system
- In non-responsive units
Typical Causes of Malfunction in Laser Board Sensors
The malfunction of the laser board sensor can be brought on by several elements including:
- Accumulation of dust and trash – Accurate detection may be hampered by sensor obstacles.
- Loose or disconnected wiring – Bad connections could mess with signals.
- Power swings or electrical surges – Could harm internal parts.
- Software problems – Could produce erroneous sensor readings.
- Physical damage or wear and tear – Sensors change with time, therefore influencing performance.
Diagnosing a Faulty Laser Board Sensor: How to Do It?
1. Search for Error Codes
When a component breaks, most Litter Robot models show error codes. See the user manual for detailed error interpretation.
2. Look Over the Sensor for Dirt or Obstacles
- Open the Litter Robot then find the laser board sensor.
- Clear dust and trash with a soft brush or compressed air.
3. Wiring and Connection Testing
- Turn off the unit then take off the rear panel.
- Look at whether any of the cables are disconnected or loose.
- Reconnect any unsecured cables securely.
4. Hard Reset Everything
- Litter Robot should be turned off and unplugged for ten minutes.
- Starting the unit, see whether the problem still exists.
Laser Board Sensor Repair or Replacement Guide
Should problems not be fixed by troubleshooting, you might have to replace the sensor.
Tools You’ll Need:
- Replacement laser board sensor fit for your Litter-Robot type.
- Flat-head and Phillips screws
- Compressed air or soft cloth
- Multimeter (optional for evaluating electrical continuity)
Methodical Guide on Replacing the Laser Board Sensor:
- Control Down the Unit – Turn off and disconnect the Litter Robot.
- Remove the Outer Shell – Locate the laser board.
- Disconnect the Old Sensor – Carefully separate any linked wires.
- Install the New Sensor – Secure the replacement sensor in position and reconnect the wiring.
- Reassemble the Unit – Make sure every component is tightly fastened.
- Power On and Test – Turn on the unit by plugging it in and see whether the problem is fixed.
Preventive Advice for Maintenance
Use these best strategies to prevent next sensor failures:
- Frequent Cleaning – Weekly wipe off the laser sensor to stop dust accumulation.
- Periodically Check Wiring – Verify undamaged and strong connections.
- Avoid Power Surges – Guard the unit against electrical damage using a surge protector.
- Software Updates – If your model allows firmware updates, install them.
READ MORE – Does Robotics Count as a Science Award? Exploring its Classification and Impact
FAQs:
1. How can I reset the Litter Robot following sensor replacement?
Replace the laser board sensor; press and hold the reset button for five seconds or run a power cycle by disconnecting the machine for a few minutes before turning it on again.
2. Rather than replacing the laser board sensor, might I clean it?
Absolutely! Before looking at a replacement, try dusting with compressed air or a microfiber cloth.
3. Where might I get a replacement laser board sensor?
- Official replacement parts are available on the Litter Robot website or via independent stores like Amazon and eBay.
4. After swapping out the sensor, why is my Litter Robot still broken?
Should problems continue, look for wire faults, program bugs, or motor failures. A factory reset might also help.
5. Does swapping the laser board sensor void my warranty?
Before doing repairs, check with Litter Robot customer support if your device is still under warranty. Unapproved changes might nullify coverage.
In Conclusion
Your Litter-Robot may have major problems with a malfunctioning laser board sensor, but with the correct method, you can troubleshoot, fix, or replace it quickly. Following this tutorial will help you restore optimal performance and extend the lifetime of your machine. Through regular maintenance and appropriate care, future sensor failures can be avoided, ensuring that your automatic litter box continues running smoothly for years to come.